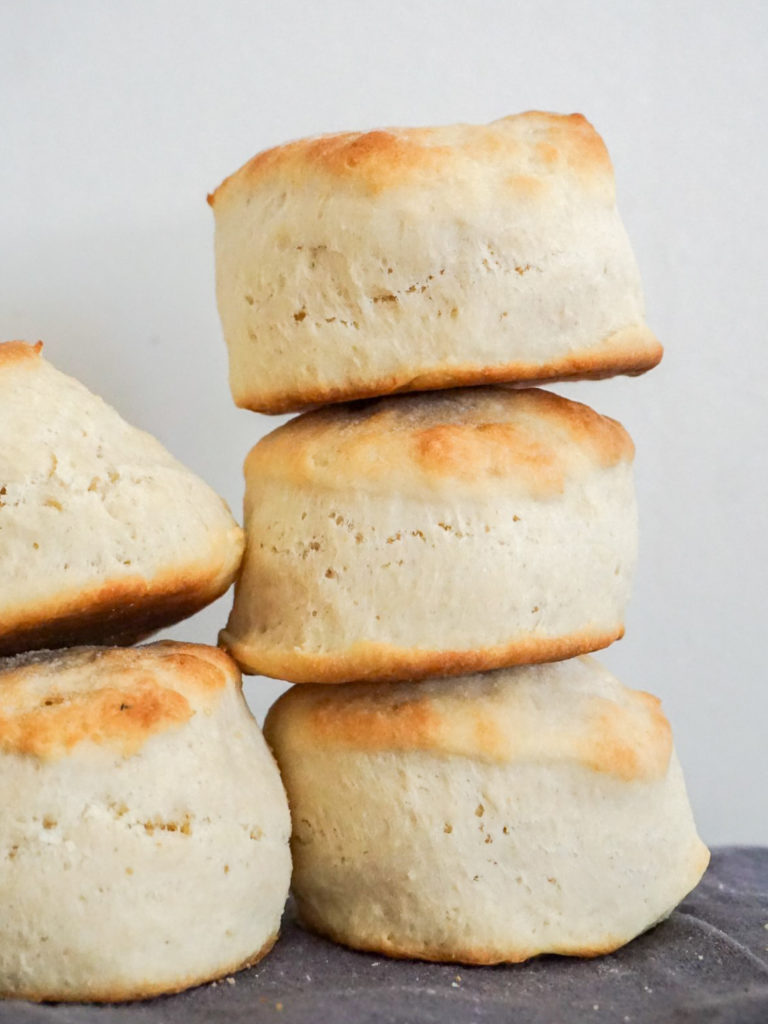
For the first twenty or so years of my life, I did not like scones. I found them to be hard, dense, triangles that, though loaded with sugar and dried fruit and often coated in more sugar, somehow managed to taste like cardboard. (And at that point, why would I not just bake some cookies?) Bah humbug.
Then I moved to Sydney and encountered a different kind of scone. Australian (really, British) scones are more like a sweet American biscuit than those dry, brick-like triangles that we call scones in America.
They are light and bready. They are only slightly sweet (the idea being you pile sugar and clotted cream on top, rather than baking the sugar into the scone itself). And they are oh-so-nice with fruit for breakfast or with tea in the afternoon.
After moving back to America, I sorely missed these bready beauties. So I hunted around for recipes, and this one–from the BBC, of course–came out on top.
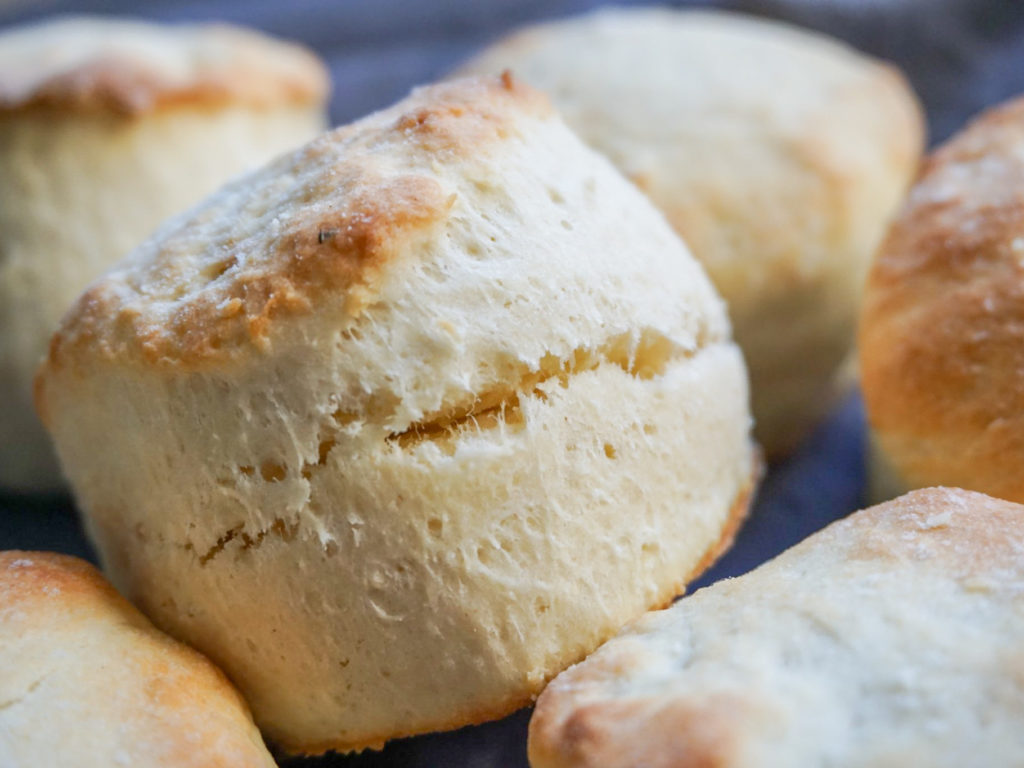
And a treat for you, because you are a working human who can’t be baking scones on demand: you can freeze the cut-outs of dough and bake them off as needed. This makes them as practical for hosting brunch for a crowd as baking off one or two (or three) for yourself on a weekend (or weekday!) morning.
Anglo-Australian scones
Makes about 14
Adapted for technique, quantity, and lack of self-rising flour from BBC Good Food
Ingredients
3 1/4 cups plus 2 tablespoons (465g) flour
4 1/2 teaspoons (13g) baking powder
1 1/4 teaspoons (9g) salt
9 tablespoons (127 grams) butter
4 1/2 tablespoons (55g) sugar
1 cup plus 2 tablespoons (262ml) milk or buttermilk
squeeze of lemon juice (from 1/2 lemon or so)–omit if using buttermilk, see notes following recipe
1 1/2 teaspoons vanilla
1 egg (for egg wash on top, optional)
Instructions
Preheat oven to 425F (220C).
Tip the flour into a large bowl with the salt and baking powder, then mix.
Then, using a box grater, grate the butter into the flour bowl. (See picture, above. Grating makes rubbing the butter into the flour so much easier.) Rub the butter into the flour until the mixture looks like fine crumbs. Stir in the sugar.
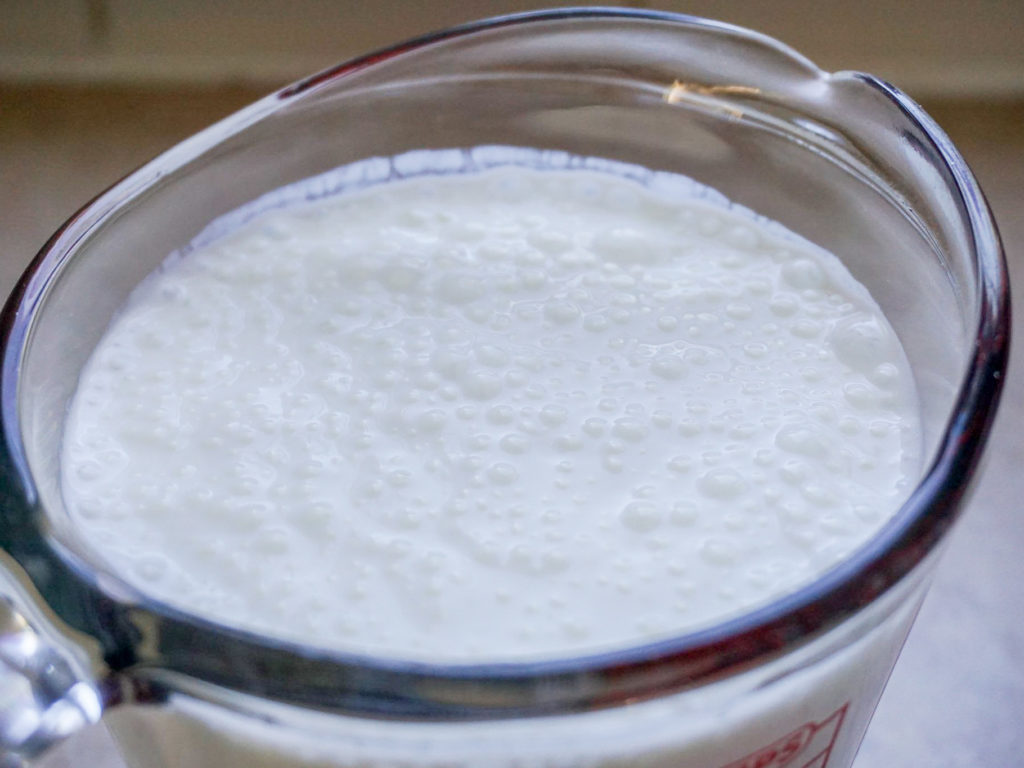
Warm milk in the microwave or on the stove until warm, but not hot. Add the vanilla and lemon juice, then set aside for a moment.
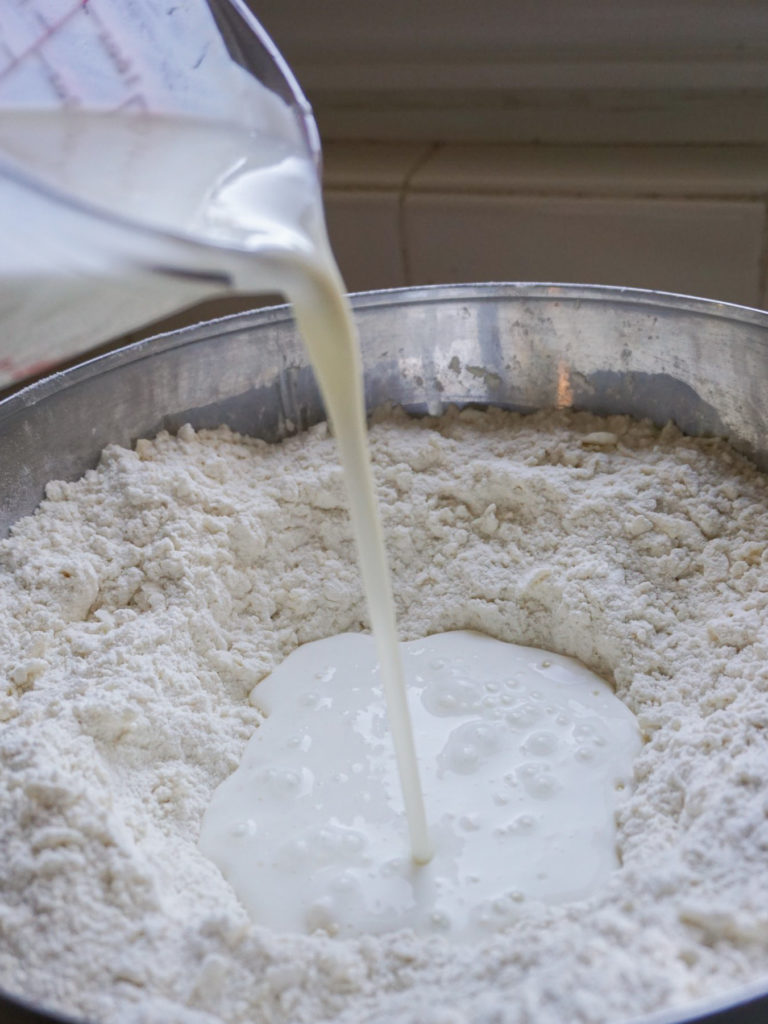
Make a well in the dry mix, then add the liquid and combine it quickly with a butter knife – it will seem pretty wet at first. Scatter some flour onto the work surface and tip the dough out. Dredge the dough and your hands with a little more flour, then fold the dough over 2-3 times until it’s a little smoother. Pat into a round about 1 inch (2.5cm) deep.
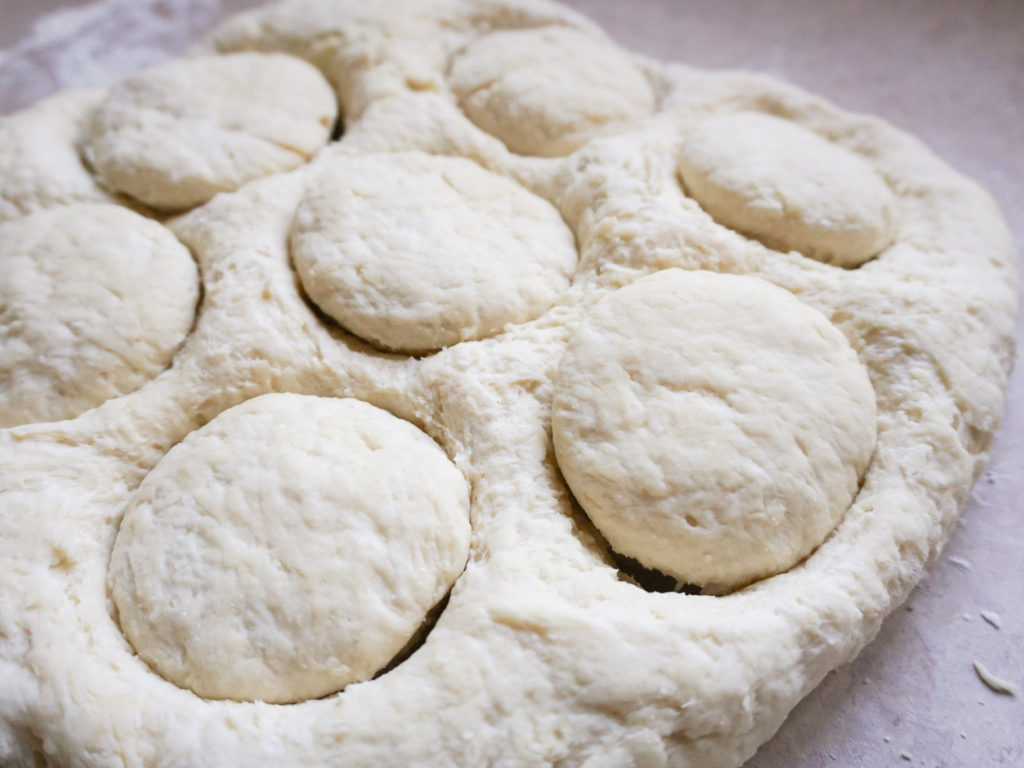
Take a 2-inch (5cm) cutter and dip it into some flour to prevent sticking. (Smooth-edged cutters tend to cut more cleanly, giving a better rise. I don’t have a pastry cutter, but a small wine glass worked perfectly.) Plunge into the dough. Cut out as many scones as can fit. Then press what’s left of the dough back into a round to cut out the rest. Brush the tops with beaten egg, if using, or just dust lightly with a little extra flour.
Line a baking tray with baking paper or a non-stick silicone baking sheet, or grease a baking tray with butter or non-stick spray. Place the cut scones onto the tray. (If you’re freezing some for later, see notes below recipe now for instructions.) Bake for 10 minutes until risen and golden on the top. Serve with butter, jam, clotted cream (if you can find it in America), or lemon curd.
Notes
How to freeze uncooked scones to bake later:
There are two ways to do this:
(1) Freeze scones on a parchment paper-covered baking tray. Remove from freezer, take off tray, toss into freezer bags.
(2) Carefully place the scones flat in a freezer bag. Don’t let the scones touch. Place bag flat in freezer (at least until scones are frozen).
You can put in the oven directly from frozen–just bake for 14-16 minutes instead of 10.
On buttermilk versus milk: If you have buttermilk on hand, you can substitute it for the milk and omit the lemon. (As written, the lemon sours the milk to create a reaction with the baking powder. But buttermilk will do that, too!) Just make sure the buttermilk isn’t very cold from the refrigerator, since it will make the butter harder to work with.
Leave a Reply