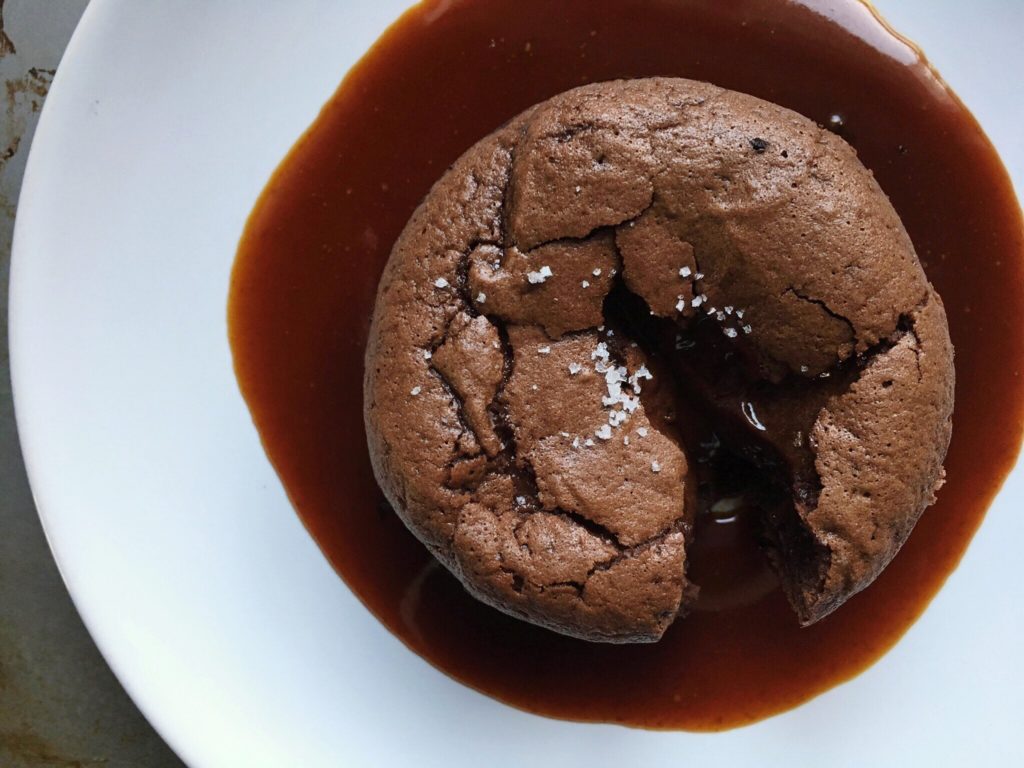
 Food trends bewilder me. Some rise and fall faster than I can open my Instagram account, let alone go out and find/eat the food. (What was unicorn ice cream, anyway? And how could it possibly be better than pistachio, or mint chip, amarena, or chocolate?) Other trends stick around far, far longer than I think they deserve to (looking at you, cupcakes).
But others become trendy for good reason, and so I keep eating them long after they become passé—because to me, good food is good food, full stop.
 Molten chocolate cakes fall into this latter category. With two distinct textures and a whole lot of chocolate, they were the dessert darling of the 1990s. Diners in New York and then Los Angeles were early adopters of the dessert (that part of food trends hasn’t changed since the 1990s). But as the individual chocolate cakes with the soft centers trickled down to the masses—Disney started selling them at their theme parks in 1997, and Chili’s put them on their menu in 1998—they became the victim of their own success. In part because of their ubiquity and in part because of snobbery, diners and chefs began to turn their noses up at the dessert. By 2013, food writer Mark Bittman called it the “Big Mac of desserts.”
 Such a downward trend should indicate the death of the dessert—and, for the most part, chefs at higher-end establishments have been reluctant to place it back on their menus.
Yet the cake hasn’t changed—only we have. And I would argue that despite the molten-cake overdose of the 1990s, it still deserves a place in a home cook’s repertoire. It still has the same textural contrast that made it popular: the cakey outside and the delightfully soft interior. It still satisfies those of us who, deep down, feel that all the best desserts are chocolate. It is simple, chocolatey, and deeply satisfying.
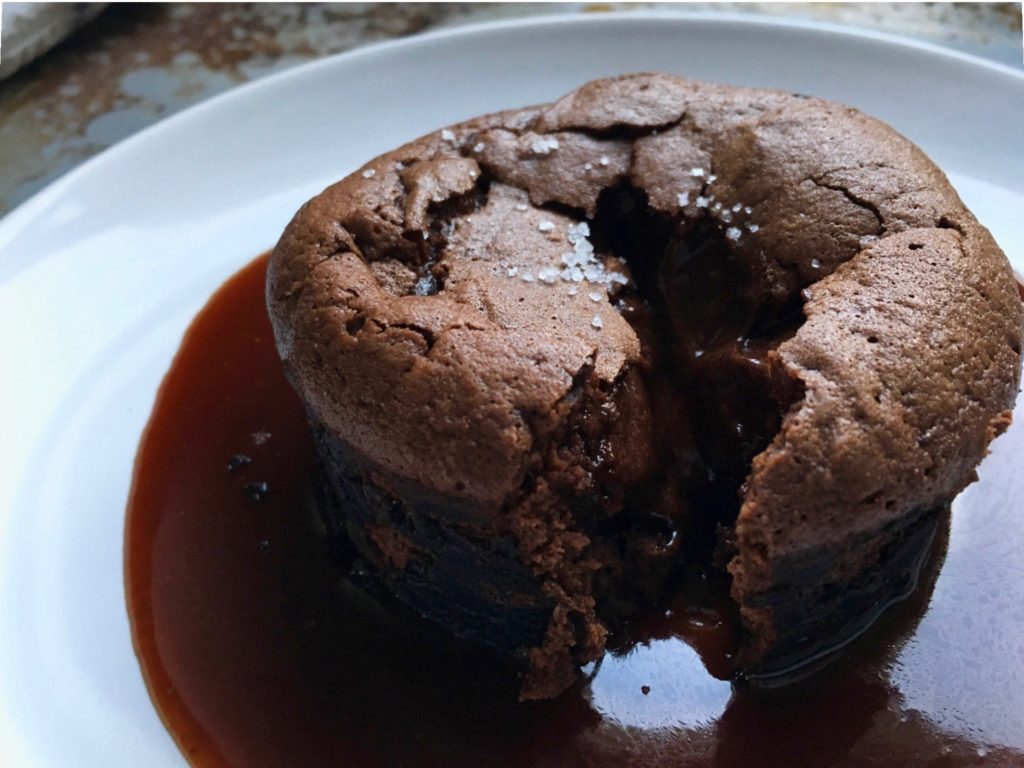
 This rendition is less liquid-y on the inside than your typical molten cake: the chocolate is soft, but it doesn’t come gushing out onto your plate. And it includes salted caramel sauce and the slightest sprinkle of fleur de sel on top to serve, to keep things interesting.
Here’s to a great dessert, which became popular for a reason.
Six months ago: Fettuccine with rosemary and lemon (Okay, so actually four months ago—but this was the sleeper hit of the summer.)
One year ago: Baked eggs with smoked salmon and kale
Individual soft-centered chocolate cakes with salted caramel sauce
Adapted only ever so slightly from David Lebovitz’s My Paris Kitchen
Makes 8 individual cakes
Ingredients
Cakes
8 1/2 ounces (250g) bittersweet or semisweet chocolate, coarsely chopped (I used a mixture of chocolate chips and baker’s chocolate and it turned out fine)
6 tablespoons (3oz/85g) butter, cubed, at room temperature
5 large eggs, at room temperature
3/4 cup (85g) powdered sugar
2/3 cup (90g) all-purpose flour
Sprinkle of sea salt (preferably fleur de sel)
Salted caramel sauce
1 cup (200g) granulated sugar
1/2 cup (125ml) water
6 tablespoons butter, cubed, at room temperature
1/2 cup (125ml) heavy cream, at room temperature
Sea salt or kosher salt, to taste
Instructions
For the cakes
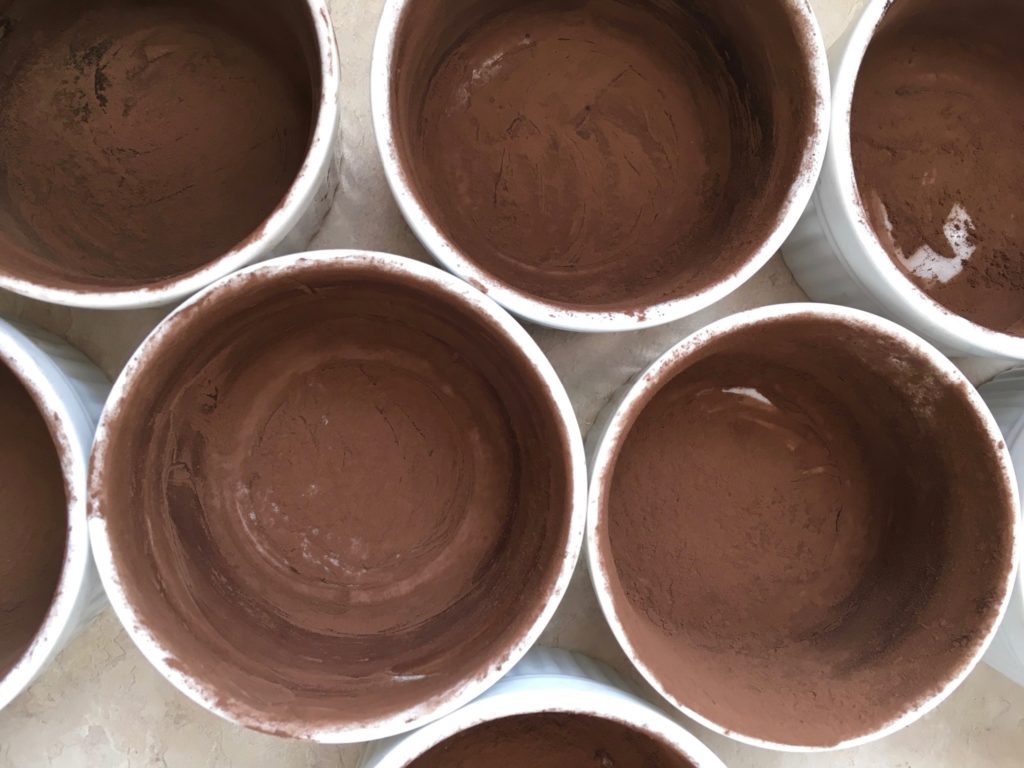
Butter eight 4-ounce aluminum cake molds or ramekins generously, then dust them with cocoa powder (or flour, if you don’t happen to have cocoa powder), tapping out any excess.
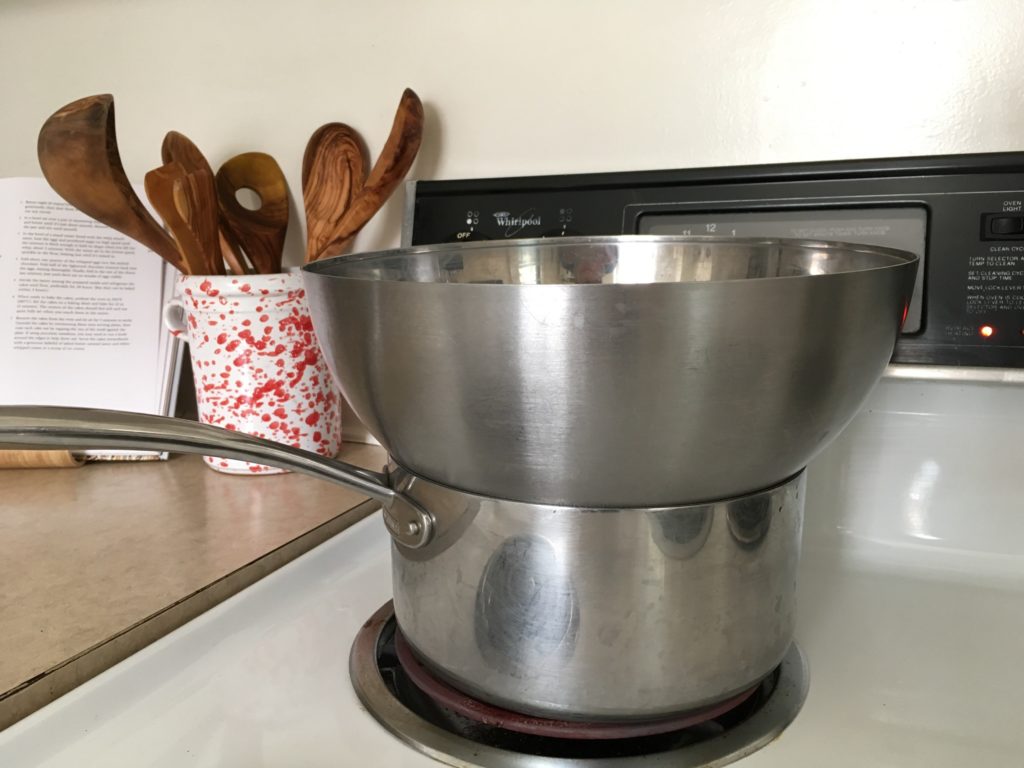
Set a medium bowl over a pot of simmering water. Place the chocolate and butter in the bowl and melt until it is nearly smooth. (I’ve included a photo of how to rig up this double boiler below, in the notes.) Remove bowl from the pan and stir until completely smooth.
In the bowl of a stand mixer fitted with the whip attachment, or in a large bowl using handheld electric beaters, beat the eggs and powdered sugar on high speed until the mixture is thick enough to hold its shape when you lift the whip, about 5 minutes. Turn the mixer to the lowest speed and sprinkle in the flour, beating it until it’s just mixed in.
Fold about one quarter of the whipped eggs into the melted chocolate. Fold half of the lightened chocolate mixture back into the eggs, mixing thoroughly. Then, fold in the rest of the chocolate mixture, just until there are no streaks of egg white visible. (You don’t want to over-mix after you just did such a good job fluffing up those eggs.)
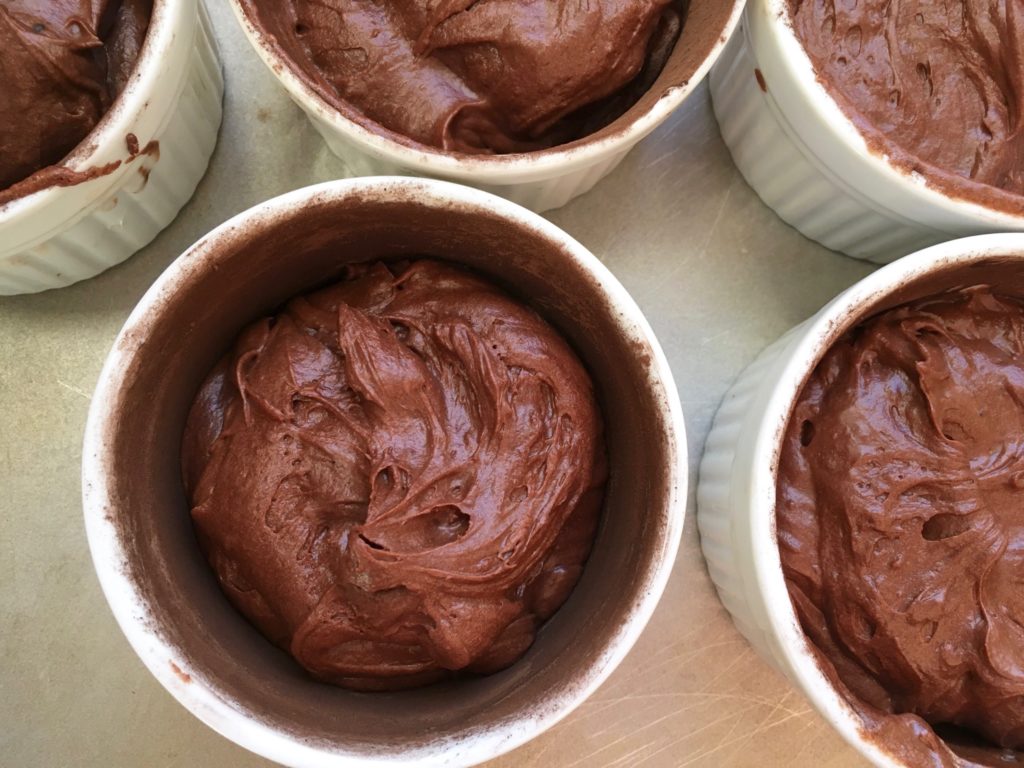
Divide the batter among the prepared bowls and refrigerate. This is where I deviated from the recipe: Daveed called for the cakes to be refrigerated until firm–preferably for 24 hours, but at least for 3. I refrigerated mine for 1 hour, flat. And they were still wonderful. [This leads me to wonder: would your results be significantly different from mine if you refrigerated for the two additional hours? If you try it, let me know!]
Preheat the oven to 350F (180C). Set the cakes on a baking sheet and bake for 12 to 13 minutes. The centers of the cakes should feel soft and not quite fully set when you touch them in the center.
Remove the cakes from the oven and let sit for 5 minutes to settle. During this time, make the salted caramel sauce, if using. After five minutes, unmold the cakes. If you used aluminum cake molds, simply gently overturn them onto the serving plate. If you used ramekins, you may need to carefully run a knife along the inside to loosen the cake. Then overturn them onto a cutting board, and finally, gently pick them back up and flip them right side up onto a serving plate.
Sprinkle the smallest bit of fleur de sel on top of each cake. Serve warm with salted caramel sauce.
For the salted caramel sauce
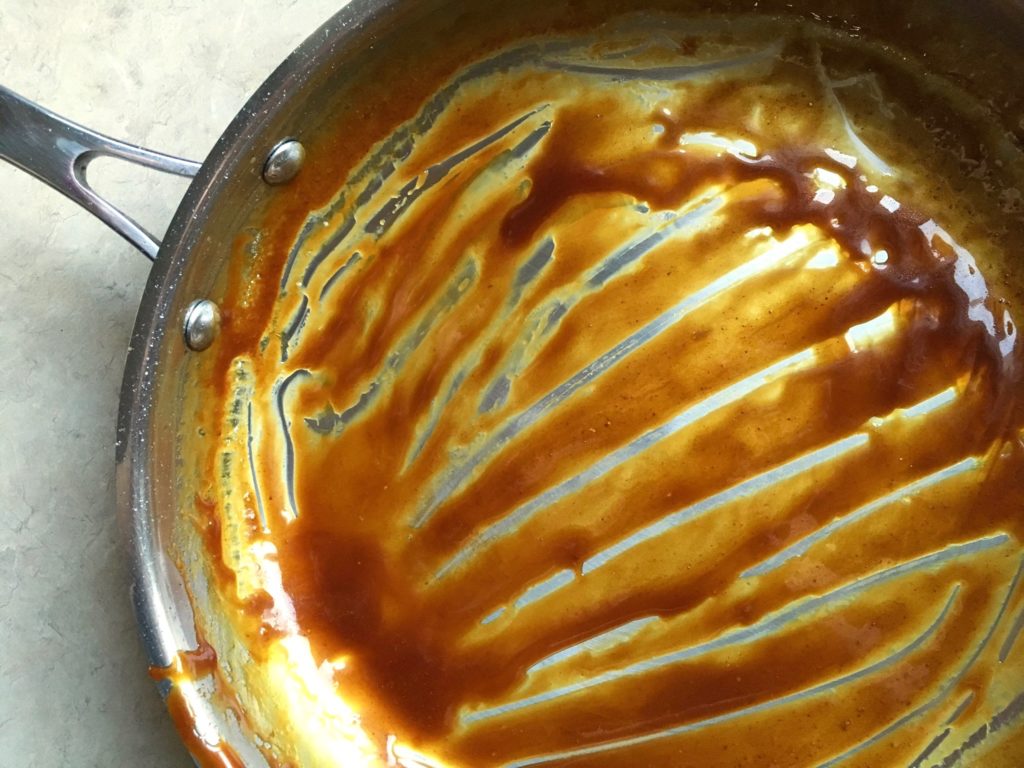
Spread the sugar in a large skillet or wide saucepan and pour the water over it. Heat the sugar and water over medium heat, swirling the pan very gently just to ensure the sugar is evenly moistened with the water.
Continue to cook as the sugar begins to darken. Swirl the pan only if there are dry spots of sugar that aren’t melting, or if the sugar isn’t cooking evenly. (The edges sometimes cook faster than the middle. If this happens, a heatproof spatula can be useful for dragging the edge sugar inward and the center sugar out to the edges.)
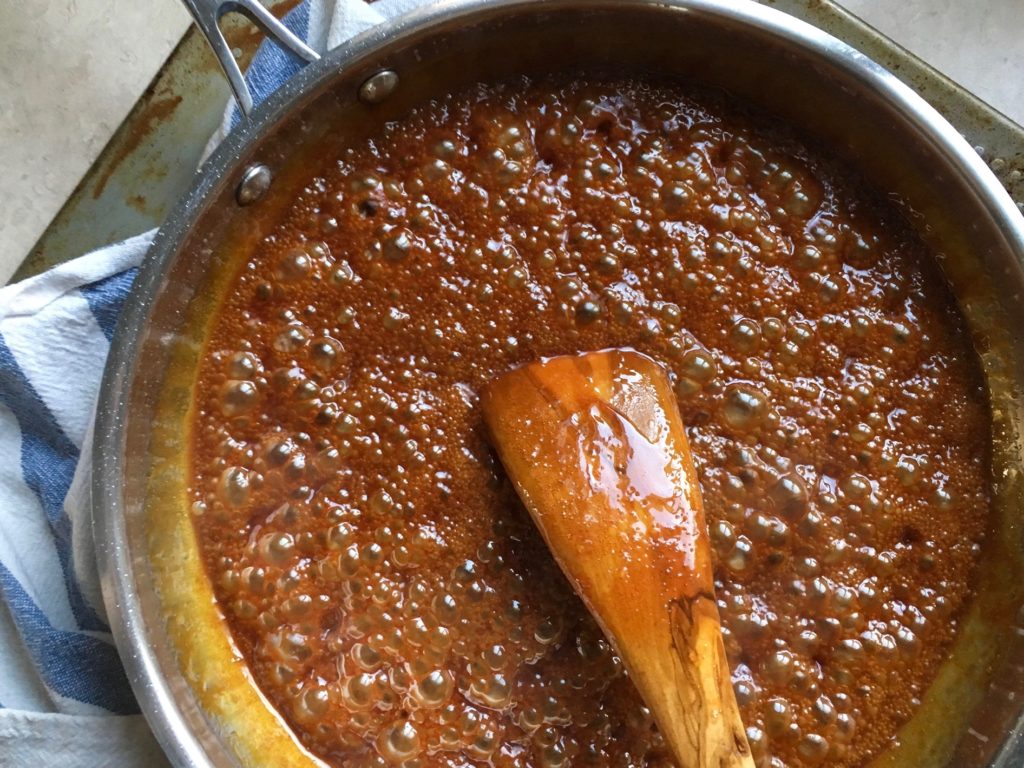
Here’s the part where you have to decide how much you like to live on the edge. Light caramel is not cooked enough to really caramelize, and ends up tasting merely sweet. A deep amber caramel tastes much more interesting and, well, caramel-y. But the deeper the color, the closer you bring the caramel to burning. So: go as deep as you can—usually the sign is when the caramel starts to smoke—then pull the caramel off the heat and immediately add the butter. Stir in the butter with a whisk until it’s completely melted, then gradually stir in the cream.
If your cream and butter are already room temperature, you shouldn’t have too many problems with stubborn bits of caramel sticking to the bottom and sides of the pan. If this happens anyway, loosen them with a spoon and stir them in; if that doesn’t work, rewarm the sauce over low heat. Let the sauce cool just until you can taste it.
Now, we salt. If you used salted butter, you may not need to add any salt at all. If you used unsalted butter, add 1/8 teaspoon of kosher or sea salt at a time, until you’re happy with the salt level.
The sauce will keep up to 2 weeks in the refrigerator—simply reheat before serving.
Notes
Here is how to rig up a double boiler. The bottom saucepan has about an inch of water in it; the top bowl sits above the water and is where you melt the chocolate. This prevents the chocolate from burning, as it might if you did this in a pan.
Leave a Reply